
We know, we know. It’s just a bolt. What could go wrong, right?
The cold, hard reality is that an improperly installed U-bolt can be more than just a nuisance. It can cause injuries, destroy projects, and turn into costly unplanned shutdowns. In fact, poor bolt installation has caused some of history’s worst engineering catastrophes.
We’re here to help you install U-bolts the right way and avoid disaster.
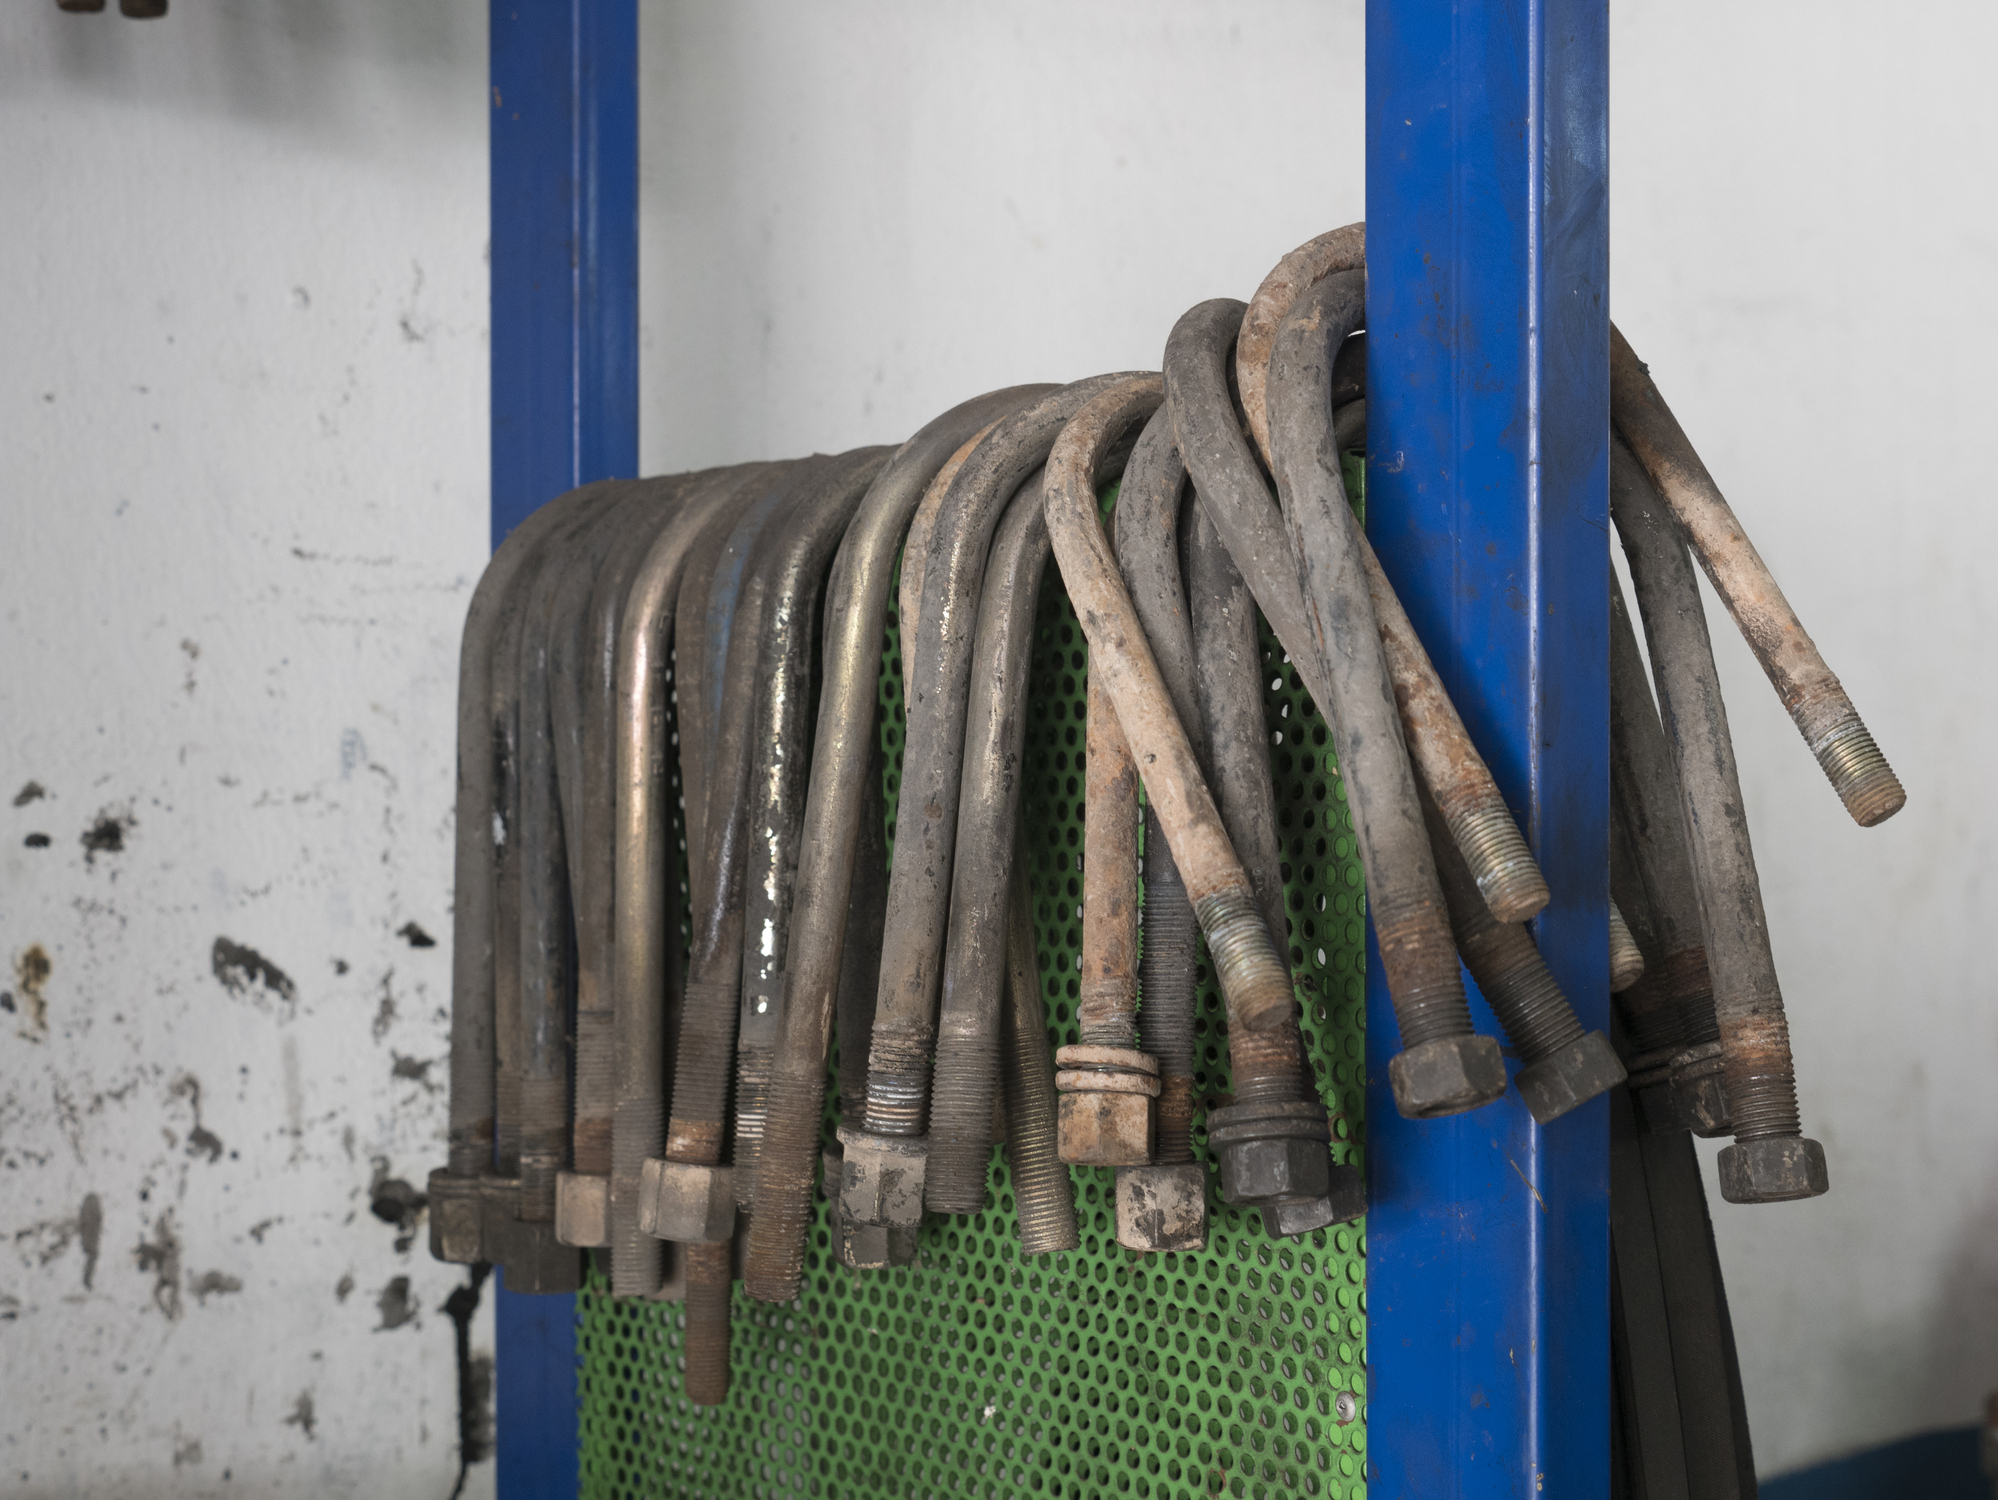
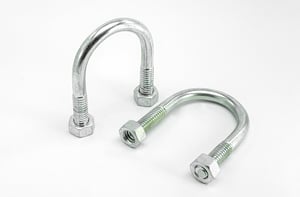 What Is a U-Bolt?
First, what exactly is a U-bolt? It’s a bolt that’s shaped like—you guessed it—the letter “u.” It’s simply a curved bolt with threads on each end. The curved shape makes it easy to hold piping or tubing securely against beams.
But as simple as this handy fastener is, there’s a right way and a wrong way to install it. We’ll teach you the right way:
How to Install a U-Bolt
Follow these five steps to ensure your U-bolt is installed correctly.
Step 1: Remove the Nuts
The U-bolt will probably come with nuts attached to its threads. Start by taking the nuts off each side of the bolt.
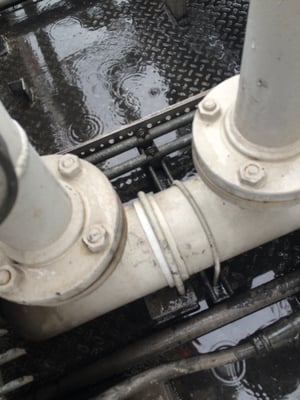
Step 2: Position the U-Bolt
Place the U-bolt around the object you’re attaching to the beam or support. This object is usually piping or tubing.
Step 3: Examine Your Holes
Next, make sure you properly drill holes through the support structure. If you’ve drilled through the beam, make sure you haven’t damaged its protective coating. Cracks in the coating can lead to rusting around holes. At this stage, it’s smart to touch up the beam’s surface around holes before adding your bolts.
Step 4: Thread the Bolt Through
Push the two bolt ends through the holes and thread the nuts on each end of the U-bolt.
Step 5: Fasten the Nuts
It’s good to note that nut placement on a restraint will be different from a guide. If you’re working with a restraint, you’ll want to tighten the nuts on the bottom side of the beam.
For guides, you’ll want to place one nut on the top side of the beam and one nut on the bottom side. These nuts allow proper spacing between the piping and U-bolt.
Once your nuts are in place, start by hand tightening the nuts closest to the beam first. Finally, tighten each end’s second nut. This will lock the U-bolt in place. Then, use a power tool or wrench to tighten the nuts until they’re secure.
Now that you know how to properly install a U-bolt, let’s talk about some important installation considerations.
1. The Materials You Use Matter
All too often, a worker will overlook the importance of the materials they’re joining together. The big danger here is galvanic corrosion. This is when certain metal combinations lead to a weakened piece.
For example, when stainless steel rubs against aluminum, it can pull electrodes out of the aluminum piece. That can make the aluminum fall apart faster.
As a rule of thumb, it’s a good idea to avoid mixing metals. Or at least make sure you’re using metals that get along together. If you’re working with piping or tubing that needs to slide, consider using a U-bolt with thermoplastic coating, which cuts down friction and can help avoid breaks or tears in pipes.
 2. Attach at the Right Depth
Getting the right depth can be tricky, and the depth of your U-bolt will determine how freely your piping or tubing moves. However, not threading U-bolts deep enough can cause big problems. If nuts extend past the bolt’s ends, it puts extra stress on both the bolt and the nuts.
This means that the nuts won’t have a solid grip on the U-bolt as it’s pulled down by both gravity and piping. And the result could be a stripped bolt and falling objects. Instead, make sure the bolt extends through the whole head of the nut.
3. Drill Holes with Care
The holes that host your U-bolt need to fit securely around each end of the bolt. If they’re too big, it leaves room for harmful corrosive materials, such as dirt or water. It can also lead to shaky bolts, wobbly pipes, and broken beams.
At the same time, holes that are too snug also can cause headaches—forcing or hammering U-bolts into holes can result in stripped threads.
The American Society of Mechanical Engineers has laid out standards for clearance holes. It lists the recommended sizes for holes and adjusts sizes for how loosely you plan to fit the U-bolt. Following these industry standards can be a simple way to make sure you’re drilling right-size holes.
4. When Tightening, Be Precise
Similar to when you’re drilling holes, you should tighten the nuts in true Goldilocks form. Too loose, and the nuts can come undone. Too tight, and you could strip the threads. It’s best to use a tool to snug up the nut. Never force it or overtighten the nut.
Do It Right the First Time
If you’re stuck on a job or have a question about a product, you’re not alone. APP is here to help, and we always welcome questions. Contact us for more advice on the best way to tackle your next project.